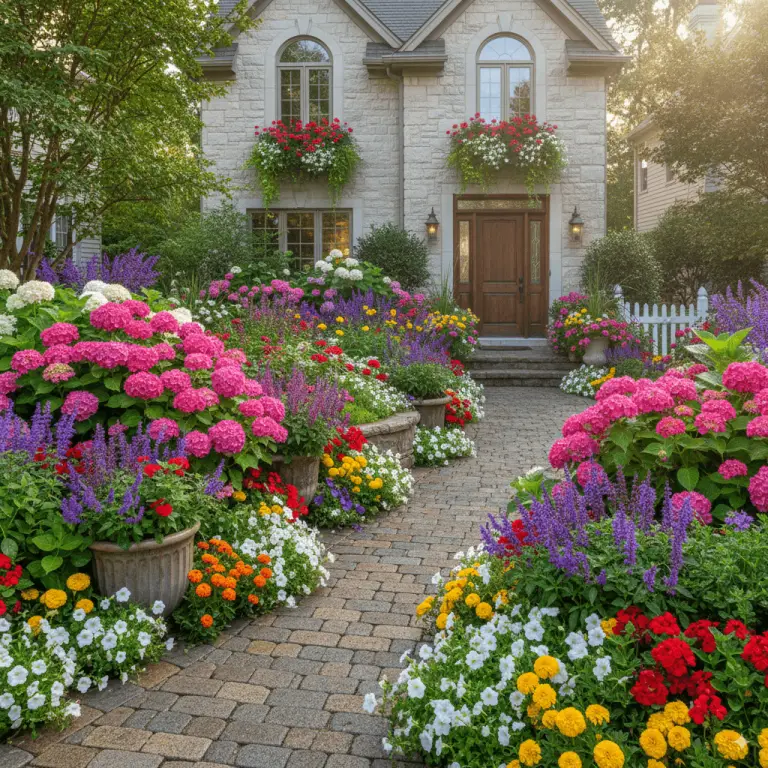
How To Plant Flowering Plants For A Season Of Stunning Blooms
Have you ever brought home a gorgeous, vibrant flowering plant from the nursery, full of hope, only to watch it struggle and fade once it’s in your garden? It’s a frustrating experience that can make even the most enthusiastic gardener feel a little defeated.
Don’t worry, you’re not alone, and it’s a problem with a simple solution. I’m here to promise you that with the right knowledge, anyone can master how to plant flowering plants for a garden that bursts with color season after season. It’s not about having a “green thumb”; it’s about understanding what your plants need to feel at home.
In this complete how to plant flowering plants guide, we’ll walk through every crucial step together. We’ll cover everything from choosing the perfect spot to the secret to happy roots, ensuring your new floral friends don’t just survive, but truly thrive. Let’s dig in and turn your garden dreams into a blooming reality!
What's On the Page
- 1 Before You Dig: The Foundation of a Flourishing Flower Garden
- 2 The Ultimate How-to Plant Flowering Plants Guide: A Step-by-Step Process
- 3 Post-Planting Care: Nurturing Your New Blooms
- 4 Benefits of How to Plant Flowering Plants the Right Way
- 5 Sustainable and Eco-Friendly Planting Practices
- 6 Troubleshooting Common Problems with How to Plant Flowering Plants
- 7 Frequently Asked Questions About Planting Flowers
- 8 Go Forth and Grow!
Before You Dig: The Foundation of a Flourishing Flower Garden
As any seasoned gardener will tell you, a successful garden starts long before you pick up a trowel. A little bit of planning is the secret ingredient that separates a struggling plant from a spectacular one. These are the how to plant flowering plants best practices that set you up for success.
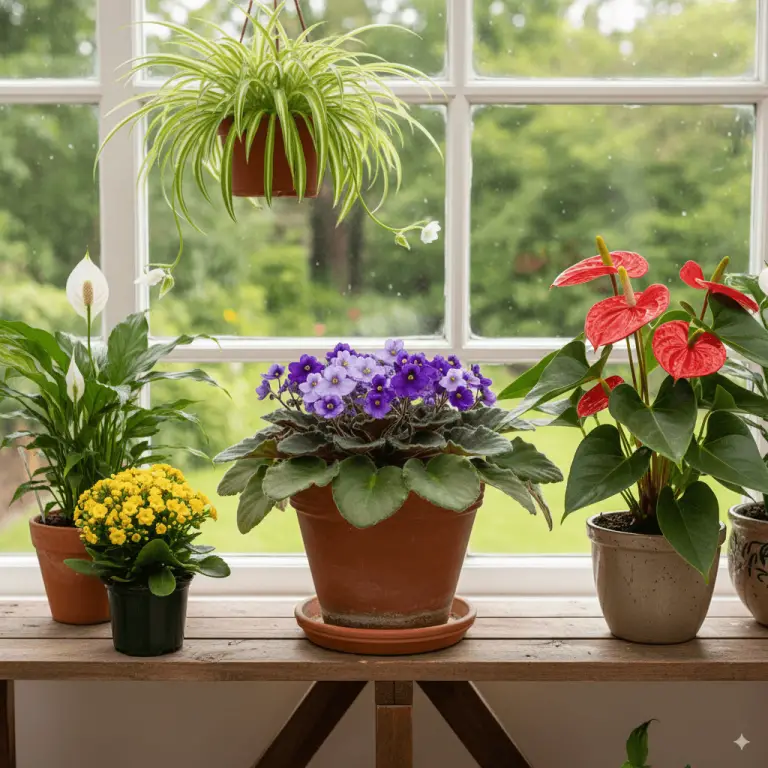
Choosing the Right Plant for the Right Place
This is the golden rule of gardening: Right Plant, Right Place. A sun-loving Zinnia will languish in the shade, and a moisture-loving Astilbe will crisp up in a dry, sun-baked spot. Before you buy, check the plant tag!

🌿 The Companion Planting & Gardening Book (eBook)
Bigger harvests, fewer pests — natural pairings & simple layouts. $2.40
Get – $2.40
🪴 The Pest-Free Indoor Garden (eBook)
DIY sprays & soil tips for bug-free houseplants. $1.99
Get – $1.99- Sunlight: Does the spot get 6+ hours of direct sun (Full Sun), 4-6 hours (Part Sun/Part Shade), or less than 4 hours (Full Shade)? Observe the area throughout the day to be sure.
- Hardiness Zone: Know your USDA Plant Hardiness Zone. This tells you which perennial plants can survive the winter in your region. Planting outside your zone is a gamble you’ll likely lose.
- Mature Size: That tiny plant in the 4-inch pot could grow into a 3-foot-wide shrub. Read the tag to understand its mature height and spread, and plan your spacing accordingly to avoid overcrowding later.
Understanding Your Soil
Your soil is the home your plant’s roots will live in, so it’s worth making it comfortable. The ideal garden soil is “loamy”—a balanced mix of sand, silt, and clay that holds moisture but also drains well.
A simple way to test your drainage is to dig a hole about a foot deep, fill it with water, and let it drain. Fill it again and time how long it takes to drain completely. If it takes more than 4-5 hours, you have heavy, slow-draining soil (likely clay). If it drains in minutes, it’s very sandy. Most plants prefer something in between.
Don’t stress if your soil isn’t perfect! The easiest way to improve almost any soil type is by amending it with organic compost. Compost improves drainage in clay soil and helps retain moisture in sandy soil. It’s magic!
Gathering Your Tools and Supplies
Having everything on hand makes the process smooth and enjoyable. You don’t need much to get started:
- A good quality trowel or a small shovel
- Gardening gloves
- A watering can or hose with a gentle spray nozzle
- High-quality compost or garden soil to amend your native soil
- Organic mulch (shredded bark, pine straw, or leaf mold)
The Ultimate How-to Plant Flowering Plants Guide: A Step-by-Step Process
Alright, you’ve chosen the perfect plant for the perfect spot, and your tools are ready. Now comes the fun part! This step-by-step process is the core of how to how to plant flowering plants correctly. Follow these steps, and your plants will thank you with vigorous growth and beautiful blooms.
Step 1: Prepare the Planting Hole
Dig a hole that is twice as wide as the plant’s root ball and just as deep. The width is crucial. You want the roots to have plenty of loosened soil to spread out into, rather than hitting a hard wall of compacted earth.
Step 2: Gently Remove the Plant from its Container
Never pull a plant out by its stem! This can cause serious damage. Instead, gently squeeze the sides of the plastic pot to loosen the soil, then tip it upside down while supporting the base of the plant with your other hand. It should slide right out.
Step 3: Tease the Roots (A Crucial, Often-Skipped Step)
This is one of the most important how to plant flowering plants tips I can share. Often, plants that have been in pots for a while become “root-bound,” with their roots growing in a tight, circling mass. If you plant it like this, the roots may never grow outward into the surrounding soil.
Gently use your fingers to loosen and “tease” the roots at the bottom and sides of the root ball. If it’s very dense, you can even make a few shallow vertical cuts with a clean knife. Don’t worry—this encourages new, outward growth!
Step 4: Position the Plant Correctly
Place the plant in the center of the hole. The most important thing here is depth. The top of the root ball should be level with, or even slightly above, the surrounding ground. Planting too deep is one of the most common mistakes and can lead to root rot.
Step 5: Backfill with Soil
Use a 50/50 mix of your native soil and compost to fill in the hole around the plant. Gently firm the soil with your hands to eliminate any large air pockets, but avoid compacting it too tightly. Roots need air as much as they need water.
Step 6: Water Thoroughly and Deeply
Water the newly planted flower immediately and deeply. This helps settle the soil around the roots and gives the plant a much-needed drink after the stress of transplanting. A slow, deep watering is much better than a quick, shallow spray.
Step 7: Add a Layer of Mulch
Apply a 2-3 inch layer of organic mulch around the base of the plant, but be sure to keep it from directly touching the stem (this can cause rot). Mulch is a gardener’s best friend—it conserves soil moisture, suppresses weeds, and regulates soil temperature.
Post-Planting Care: Nurturing Your New Blooms
Your job isn’t quite done once the plant is in the ground. The first few weeks are a critical adjustment period. This simple how to plant flowering plants care guide will help your new additions settle in beautifully.
The “Golden Rule” of Watering
For the first couple of weeks, check the soil moisture every day or two. The goal is to keep the soil consistently moist, but not waterlogged. Instead of watering on a strict schedule, use your finger as a guide. If the top inch of soil feels dry, it’s time to water deeply.
To Fertilize or Not to Fertilize?
Hold off on the fertilizer for now. Your plant is busy focusing its energy on developing a strong root system. Adding compost at planting time provides all the initial nutrients it needs. You can start a gentle feeding routine a few weeks later, once you see signs of new growth.
Monitoring for Signs of Stress
It’s normal for a plant to look a little sad or wilted for a few days after planting—this is called transplant shock. Keep the soil moist and be patient. If the wilting persists for more than a week or the leaves start turning yellow or brown, double-check your watering and ensure the plant is getting the right amount of sun.
Benefits of How to Plant Flowering Plants the Right Way
Taking the time to plant properly isn’t just about following rules; it’s about reaping incredible rewards. Understanding the benefits of how to plant flowering plants correctly will motivate you to never cut corners again.
- Healthier, More Resilient Plants: A strong root system, established through proper planting, is the foundation for a plant that can withstand drought, pests, and disease.
- More Abundant and Longer-Lasting Blooms: When a plant isn’t struggling to survive, it can put all its energy into what we love most: producing a spectacular show of flowers.
- Saving Time and Money: A properly planted flower is less likely to die, saving you the cost and effort of replacing it. It will also require less intensive care in the long run.
- Creating a Pollinator-Friendly Paradise: Healthy, blooming flowers are a vital food source for bees, butterflies, and other beneficial insects, making your garden an ecological asset.
Sustainable and Eco-Friendly Planting Practices
Gardening is a wonderful way to connect with nature, and we can deepen that connection by making conscious choices. Embracing sustainable how to plant flowering plants techniques is good for your garden and the planet.
Amending Soil with Compost
Compost is the number one tool for eco-friendly how to plant flowering plants. It’s a natural, organic way to enrich your soil, feed beneficial microbes, and reduce the need for synthetic chemical fertilizers.
Choosing Native Plants
Native plants are adapted to your local climate and soil conditions. This means they generally require less water, less fertilizer, and are more resistant to local pests and diseases. Plus, they are the best possible food source for local wildlife and pollinators.
Water-Wise Techniques
Watering deeply and less frequently encourages plants to develop deep root systems, making them more drought-tolerant. Mulching and planting in the cooler morning or evening hours also dramatically reduces water evaporation.
Troubleshooting Common Problems with How to Plant Flowering Plants
Even with the best care, you might encounter a few bumps in the road. Here’s a quick look at some common problems with how to plant flowering plants and how to solve them.
Problem: Wilting After Planting (Transplant Shock)
The Cause: This is a very common reaction to being moved. The roots are temporarily unable to take up enough water to support the leaves.
The Solution: Patience and proper watering are key. Ensure the soil stays consistently moist. Providing temporary shade with a lawn chair or cloth for a few days can also help reduce stress on the plant.
Problem: Yellowing Leaves
The Cause: This is most often a sign of overwatering. When soil is waterlogged, roots can’t get the oxygen they need, and the leaves turn yellow (a condition called chlorosis).
The Solution: Back off on the watering! Allow the top inch or two of soil to dry out before watering again. Ensure your soil has good drainage.
Problem: No Flowers!
The Cause: This can be frustrating! Common causes include not enough sunlight, too much nitrogen fertilizer (which promotes leafy growth at the expense of blooms), or improper pruning.
The Solution: Assess the plant’s location—is it truly getting the sun it needs? Cut back on high-nitrogen fertilizers and switch to one balanced for blooms. Check the plant’s pruning requirements; some flowers bloom on new wood, others on old wood.
Frequently Asked Questions About Planting Flowers
How deep should I plant my flowering plants?
This is a critical question! You should always plant them at the same depth they were growing in their nursery pot. The top of the root ball should be level with the surrounding soil. Planting too deep is a leading cause of plant failure.
When is the best time of year to plant flowering plants?
Spring and fall are generally the best times. The cooler temperatures and more consistent moisture reduce the stress of transplant shock. Avoid planting during the peak heat of summer if you can help it.
Can I plant flowers in pots using the same method?
Absolutely! The principles are the same. Ensure your pot has drainage holes, use a high-quality potting mix (not garden soil, which compacts in pots), and follow the same steps for teasing roots and watering.
How far apart should I space my plants?
Check the plant tag for its “mature spread” or “width.” Space your plants according to that measurement, measuring from the center of each plant. It might look sparse at first, but giving them room to grow prevents competition for resources and improves air circulation, which reduces disease.
Go Forth and Grow!
You now have a complete toolkit for success. You’ve learned that the secret to a stunning garden isn’t luck—it’s knowledge and care. By focusing on the fundamentals of choosing the right plant, preparing your soil, and following a few simple steps, you’ve laid the groundwork for a garden that will bring you joy for years to come.
Remember, every great gardener started with a single plant. Don’t be afraid to get your hands dirty, to experiment, and to learn as you go. The most beautiful gardens are grown with patience and passion.
Now, pick a spot, grab your trowel, and start planting. A season of stunning blooms is waiting for you.
- Fall Leaves On A Vine – Your Ultimate Guide To Dazzling Autumn - January 8, 2026
- Creeping Vines In Grass – Your Ultimate Guide To Lush, Low-Maintenance - January 8, 2026
- Long Vine Plants – Cultivating Cascading Beauty And Vertical Greenery - January 8, 2026